
Do you want to know how to use a light meter for beautifully exposed images?
That’s what this article is all about.

Dedicated light meters were popular in
photography for decades. But in recent years, cameras have included built-in
meters, so fewer and fewer photographers actually turn to handheld light meters
for determining their exposures.
Which begs the question:
Are handheld light meters even useful in this
day and age? Or can our camera’s light meter do the job for us? Do we really
need to know how to use a light meter for photography?
Read on to find out.
What is a Light Meter?
First things first:
A light meter is a tool for measuring light.
Every light meter includes a light-measuring sensor, which returns an exposure
reading.
This is important for one big reason:
Without a meter reading, you won’t be able to produce well-exposed photos. You’ll basically be shooting blind; you won’t have any guidelines for choosing shutter speed, aperture, and ISO values. And this will result in a series of dark (underexposed) and bright (overexposed) photos.
But when using a light meter, you can dial in
the meter’s suggested exposure. And you can create well-exposed photos,
consistently!
Now, there are several types of light meters.
It’s to these that we now turn:
In-Camera Meters vs Dedicated
Light Meters
As I mentioned above, pretty much every camera features a built-in light meter. Decades ago, photographers carried with them dedicated light meters – but these have become far less common.

But is a key difference between in-camera
meters and dedicated light meters:
In-camera meters measure reflected light, whereas dedicated light meters generally measure incident light.
In other words, a built-in camera meter views a scene and measures the light that reflects off of it. A dedicated light meter, on the other hand, points away from the subject you’re trying to photograph – and measures the light as it falls on the scene.
Related: How to Create Abstract Landscapes
This may seem a bit confusing, but just think
of it in terms of the direction you point the meter: The built-in camera meter
points at the scene to measure reflected light, the dedicated meter points away
from the scene to measure incident light.
(Note that some dedicated meters also offer a
reflected light meter setting.)
Why does this matter?
Because incident light metering is, generally
speaking, more accurate. When you use an incident light meter, it measures the
light as it actually falls on the scene. But when you use a reflected light
meter, it only measures the reflected light–which varies depending on the
objects included in the scene.
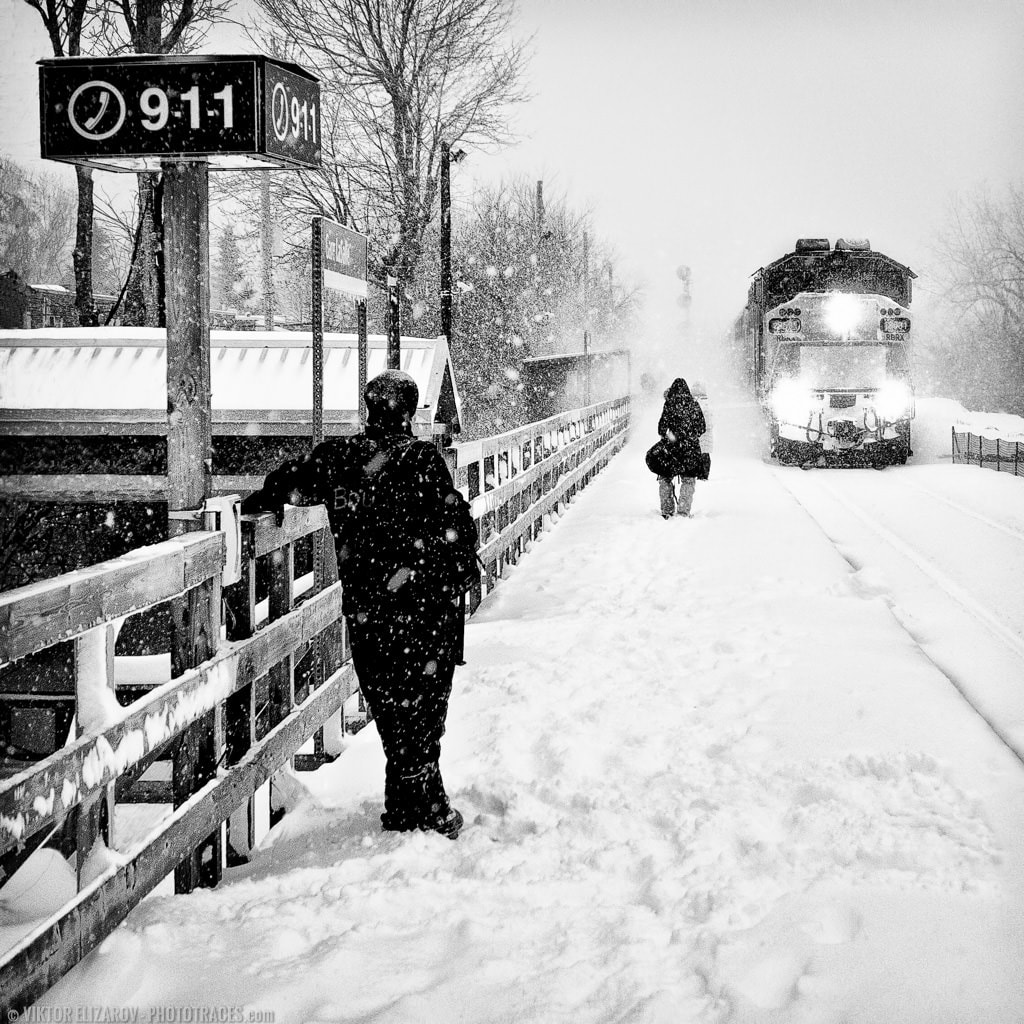
Related: My Top Tips How to Photograph Snowy Scenes
When you use a reflected light meter on a scene that’s fairly average in its tones–for instance, a dull, gray landscape – you’ll get a good meter reading. But when you use a reflected light meter on a scene with light or dark tones, such as an all-white bird against a cloudy sky, or a black rock in a dark forest, the light meter will measure a high or low intensity of light.
And it will incorrectly expose your shot.
An incident light meter, however, will perform
just fine when measuring scenes with extreme tones. You can shoot scenes that
are very dark, very light, or anywhere in between. The light that falls on an
incident meter doesn’t vary, no matter your subject type.
So your shots will turn out beautifully
exposed.
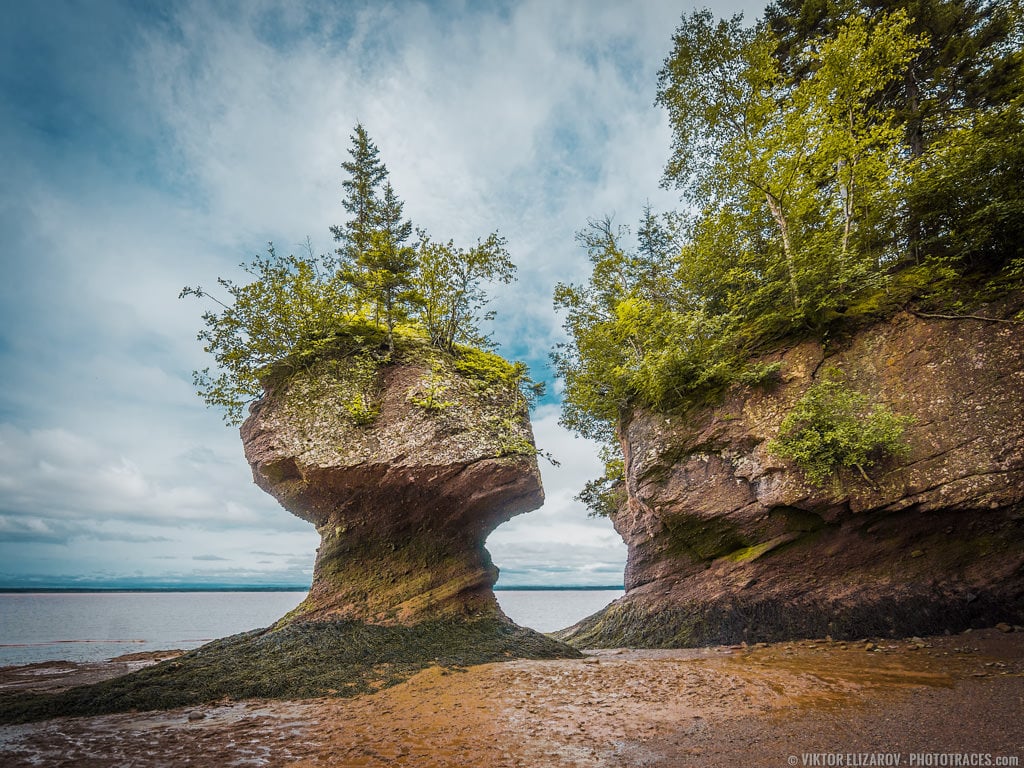
How to Use a Light Meter for Landscape
Photography
When it comes to shooting landscapes, you can choose to use your camera’s built-in light meter. In this case, you can use spot metering, and meter off a neutral part of your scene. You can also use evaluative metering and let the camera handle the metering mode.
Related: Top 6 Wildlife Photography Tips for Stunning Photos
Using your camera’s built-in reflected light meter is a good choice in situations when the light that falls on you is different from the light falling on the scene.
However, you can also use a dedicated incident light meter. An incident light meter works well when both you and the scene are evenly lit.
See also: Portrait vs Landscape: 5 Main Differences
First, set your desired aperture into the
incident light meter. Next, dial in your chosen ISO. Finally, hold your light
meter in front of the camera and point it away from the scene. Press to take a
reading.
Then dial in the suggested exposure and hit
the shutter button!
How to Use a Light Meter for
Portrait Photography
Portrait photography is a great time to bring
out your dedicated incident light meter.
Why?
Because portrait subjects are often very dark or very light. You have to contend with clothing variations (e.g., tuxedos and suits vs wedding dresses), as well as skin color variations. All of this makes it difficult to find a neutral point to meter off of and will cause your exposures to be off the mark.
Related: Top 7 Outdoor Portrait Photography Tips
So instead of using your built-in reflective light meter, pull out your dedicated incident light meter. Dial-in your desired aperture and ISO.
Then hold the meter in front of your portrait
subject, parallel to the camera. If your subject isn’t evenly lit, then hold
the meter in front of the part of your subject that you’d like to be
well-exposed.

Take a reading. Then dial in the suggested
settings, and take a gorgeous photo!
How to Use a Light Meter: Final
Thoughts
Most photographers never think to use a
dedicated light meter. Yet they can be incredibly useful pieces of kit,
especially when you’re shooting subjects that stray from tonal averages.
For some situations, your built-in camera
meter is perfectly adequate. And if you know how to compensate for dark tones
and light tones, it’s possible to make mental adjustments to your camera’s
meter reading in order to capture perfect exposures.
But if you frequently photograph difficult
scenes, and you don’t want to deal with learning how to compensate for bright
and dark situations, why not use a dedicated light meter?
That way, you can ensure gorgeous exposures
every single time you take a shot.